
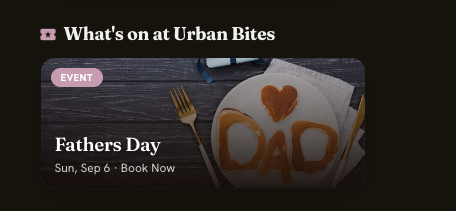
Below is an example of an event shown on the main booking page with a banner image and button description.
Below is an example of an event page with a banner image.
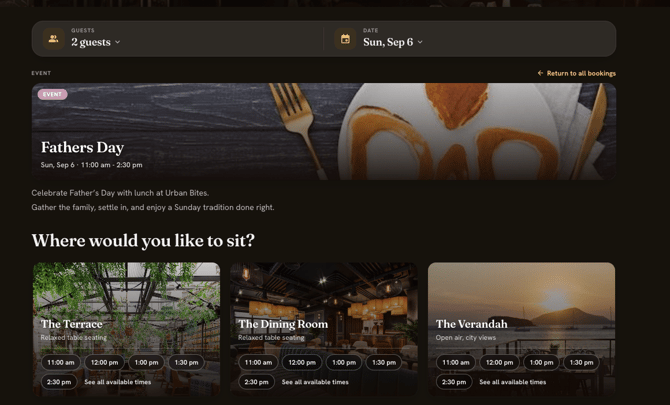
Each of your events can have a banner image and banner description. This will be used on the normal booking time selection page and the event bookings page.
Selecting Event Images
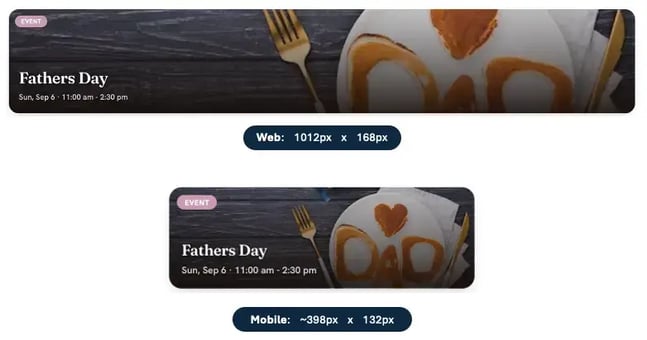
For best impact, event banner images should be 600px width and 350px height. They will be cropped to 1012 x 168px on the web. Please note however on mobile devices they will become responsive and will be cropped to the screen width and 188px height. So some edges of the image may be lost depending on the device size.
Adding an image or button description to your event
You will need to add some information to the description of services on each daily schedule.
To set this up, first navigate to Venue Settings > Diary > Schedule > Select a day > Select one of your services
Top Tip: As described in this article you should also add section images and descriptions here as required for sections available on the event.
Add the following for your event
<!-- [event-image|IMAGE URL][event-description|YOUR DESCRIPTION]-->
In the above example
- Replace "IMAGE URL" with an image URL already hosted on your website.
- Replace "YOUR DESCRIPTION" with an image URL already hosted on your website.
e.g.
<!-- [event-image|https://yourimageurl.com/image.jpg][event-description|Special limited offer]-->
Hint: If you dont have an image you can change the event tile colour using the following tag and setting a hexadecimal colour code.
<!-- [event-color|HEX COLOUR CODE]--> e.g. <!-- [event-color|#aeaeae]-->